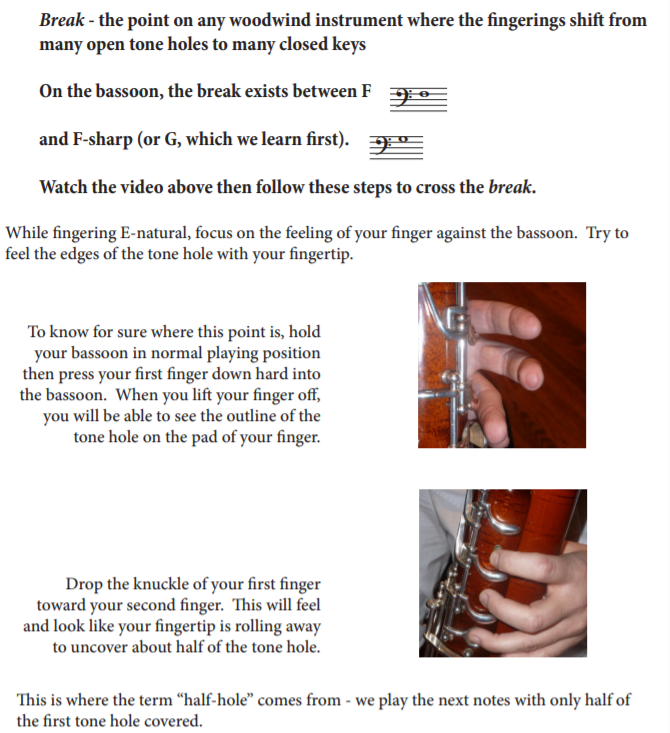
There are two methods for approaching the notes immediately above the break on the bassoon - one involves allowing air to leak from the first tone hole, and one involves pressing a right hand thumb key to allow the air to leak through the tone holes closest to the bocal. I teach these categories separately, chunking the involved notes together.
The first group is the "half hole" notes that are octave displacements from notes the student already knows, G and A-flat on top of bass clef.
The first group is the "half hole" notes that are octave displacements from notes the student already knows, G and A-flat on top of bass clef.
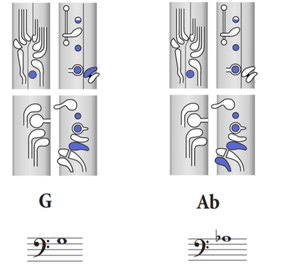
|
Note: these exercises are critical in developing a more accurate "roll" approach, rather than the more intuitive "slide" motion to open the top half of the first tone hole. All bassoonists of all levels should do these regularly!
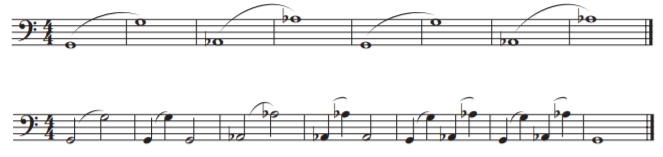
|
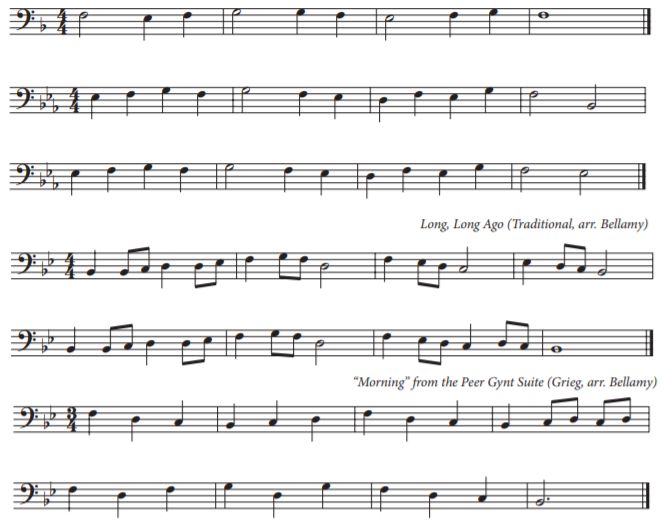
One students have familiarized themselves with the position of the half hole allowing the upper octave to speak by rolling, the next step is to place the left hand index finger directly in that position without the rolling motion. It is important to note that this is the very first introduction most method books make to the notes above the break - F to G in stepwise motion.
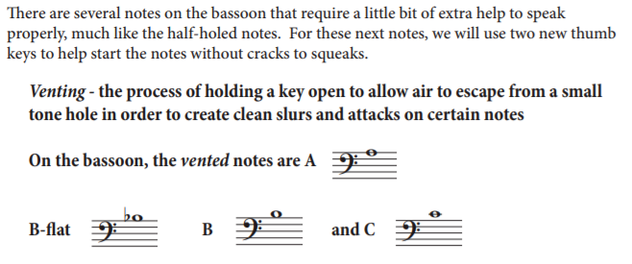
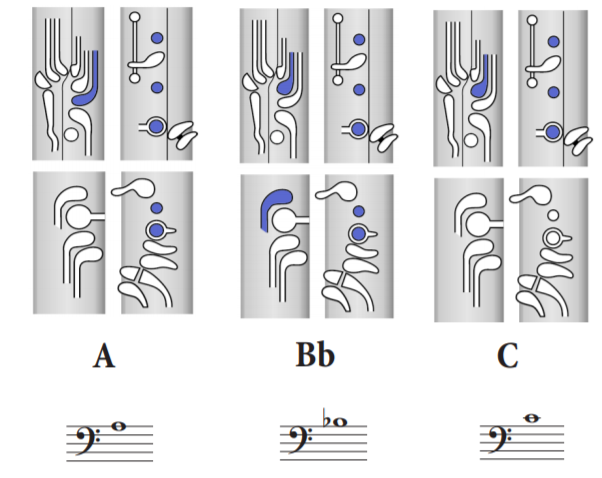
The second chunk of notes above the break involve venting air by using a left hand thumb key, as shown below. This process and these keys are known by multiple, interchanging names:
- "venting" with "vent keys" - pressing (and often holding down) thumb keys
- "flicking" with "flick keys" - tapping and quickly releasing thumb keys
- using "speaker keys" - umbrella term for either venting or flicking
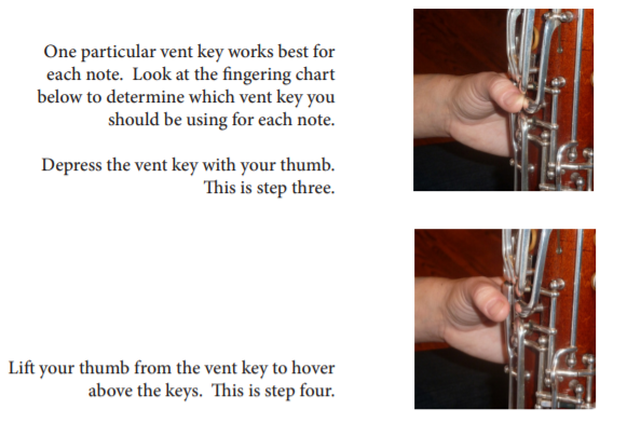
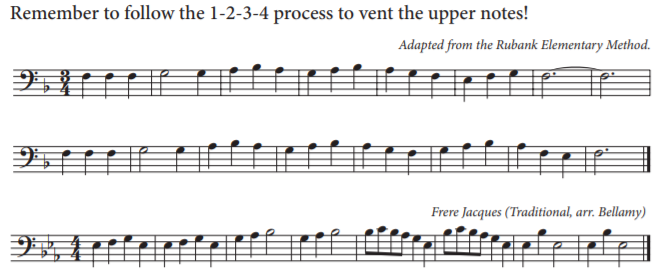
Note: it is a good idea to insert here an exercise slurring octaves upward to vented notes, just as you did with the half-hole notes.
|
|
Check-In:
Identify the location of the break in the bassoon's range and briefly discuss how to successfully navigate the seven notes immediately above it, including at least one fingering exercise for students to practice in this register.